
Knowing where to mount bike lights is just as important as choosing the lights themselves. A powerful lamp can still perform poorly if it points in the wrong direction, is hidden behind a bag, moves over bumps, or creates glare for other road users. For night commuters and road cyclists, the goal is to build a front and rear lighting setup that helps you see the route ahead while making your bicycle easier to detect from multiple directions.
There is no single mounting position that is perfect for every bicycle or riding style. Handlebar, helmet, seatpost, saddle, and bag positions all have different strengths. The best setup is usually the one that combines stable primary lights with sensible secondary visibility, keeps beams aimed correctly, and avoids cluttering the bike with lights that compete with one another.
Brightness tells only part of the story. A front light must put usable illumination where you need it, while a rear light needs a clear line of sight toward traffic approaching from behind. If either light is obstructed or badly aimed, extra output does not necessarily solve the problem.
U.S. federal traffic safety statistics indicate that dark conditions account for a disproportionate share of bicyclist fatalities even though only a small fraction of bicycle trips take place at night.
Those figures do not prove that any specific light position prevents a crash. They do show why riders should take night visibility seriously. When deciding where to mount bike lights, think about two separate jobs: seeing and being seen. The front light should help illuminate the road or trail without producing unnecessary glare. The rear light should remain clearly visible from behind. Side visibility then adds another layer for junctions, crossings, and situations where other road users approach from an angle.
The handlebar is the most straightforward location for a primary front light. It gives the lamp a stable position relative to the bicycle and keeps the beam directed along the bike's normal path. For commuting and road riding, this makes it a practical baseline for a bike headlight set.
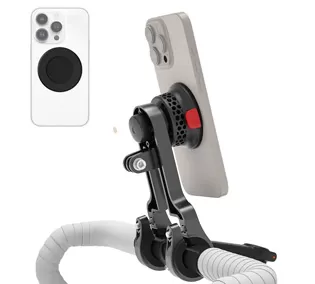
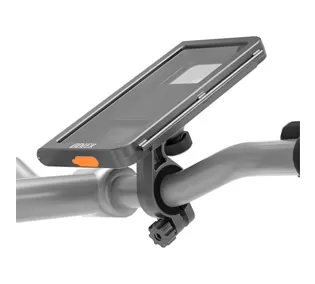
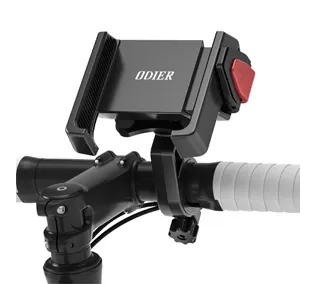
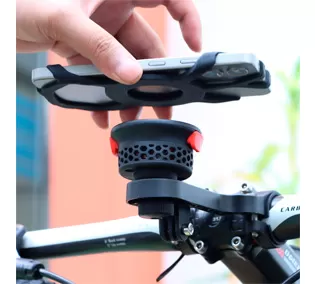
Placement should be centered or positioned where cables, bags, phone mounts, and other cockpit accessories do not block the beam. The mount also needs to remain tight enough that road vibration does not gradually rotate the light downward or sideways.
A handlebar-mounted light has one limitation: it follows the bicycle, not your eyes. When you look into a turn or toward the side of the road, the main beam may still point straight ahead. For most riders this is acceptable, but it explains why some cyclists add a helmet-mounted secondary light.
A helmet light moves with your head. That makes it useful as a secondary front light when you want to look through a bend, inspect a roadside area, or scan a trail feature before the bicycle has changed direction.
The trade-off is that a helmet-mounted light adds weight to the head and requires a secure, compatible mounting method. It should not interfere with helmet fit or function. For many road and commuter setups, the helmet light works best as a supplement rather than the sole source of forward illumination.
Some riders use a secondary front light on a lower bicycle position. This can create another visible point and spread the lighting setup vertically. However, a lower light may be more exposed to road spray and can be easier to block with parts of the bicycle or luggage. It may also produce a different beam angle from a handlebar light.
If you add a second front light, give each lamp a clear job. One can provide the stable primary beam while the other supports conspicuity or fills a nearby area. Avoid mounting multiple powerful lights at different uncontrolled angles simply because more lights seem better.
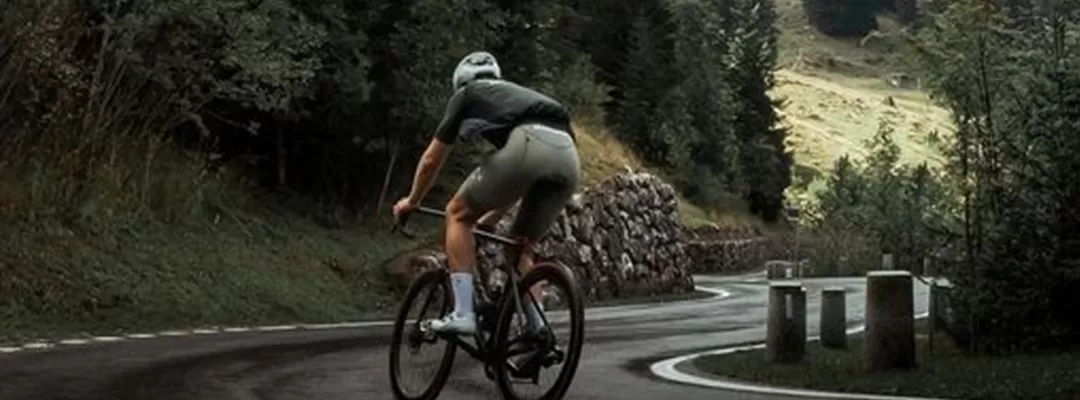
For bike tail light placement, the seatpost is a practical baseline because it places the light near the centerline of the bicycle and usually provides a direct view from behind. The most important checks are that the light is not hidden by a saddle bag, jacket, mudguard, or other equipment and that it points generally rearward rather than toward the ground.
Before every ride, look at the bike from several meters behind it. This simple check often reveals problems that are hard to notice from the saddle.
A saddle-rail mount can create a clean installation and may position the rear light slightly higher than some seatpost setups. The main risk is obstruction. A large saddle bag, tool roll, or loose clothing can partially or fully cover the lamp.
If you use an under-saddle position, check visibility while the bicycle is loaded exactly as it will be on the road. A mount that looks perfect on an empty bike may be much less effective once bags are installed.
A rear light attached to a seat bag can be convenient when the bag provides a dedicated mounting point. Stability matters because soft bags can tilt, causing the light to point too far downward or upward. Recheck the angle after loading the bag.
A helmet rear light creates a higher visible point and moves with the rider. It can work as a useful additional light, but it should not automatically replace a stable bicycle-mounted rear light. The helmet position changes as you turn your head, so the rear beam is less fixed than a seatpost-mounted lamp.
Front and rear lights dominate most discussions, but riders are not approached only from directly ahead or behind. Intersections, side streets, roundabouts, and driveways create situations where side visibility also matters.
Reflective wheel or spoke elements can add a different type of visual cue from the side. Frame-mounted or broadly visible light sources can also help create a wider visibility footprint. The useful principle is to avoid concentrating every light on one narrow front-to-rear axis.
You do not need to turn the bicycle into a moving light display. Instead, think about whether the overall setup gives other road users a clear indication that a bicycle is present when viewed from an angle. Spreading light and reflective elements across different positions can be more useful than stacking several lamps in exactly the same place.
Redundancy can be sensible. Two independent lights mean that one failure does not necessarily leave the rider with no illumination or rear visibility. Multiple positions can also cover different viewing angles.
However, more lights are not automatically better. A cluster of extremely bright or rapidly flashing lamps can make the setup visually messy and may make it harder for others to judge what they are looking at. Build the system around clear roles.
Primary front light: stable illumination of the riding line.
Secondary front or helmet light: optional support for directional viewing or additional visibility.
Primary rear light: stable, unobstructed rear-facing position.
Secondary rear or helmet light: optional higher-level redundancy.
Side elements: reflectors or other visible elements that broaden the bicycle's profile from an angle.
This approach is easier to manage and easier to check before a ride than a collection of lights with overlapping purposes.
A powerful front light should illuminate the route, not shine directly into the eyes of people approaching from the opposite direction. Mount the light so the useful part of the beam reaches the road ahead while avoiding an unnecessarily high aim.
A good practical check is to place the bicycle on level ground, switch the light on, and inspect the beam from both the rider's position and from farther ahead. If the brightest part of the beam is projected too high, adjust it downward. Then ride over typical road surfaces and recheck whether vibration changes the angle.
Rear lights also need correct aiming. A taillight that has rotated toward the tire or sky may be much less useful from directly behind. If the mount is adjustable, set it so the main output is directed rearward in your normal riding configuration.
Remember that luggage and clothing can change the effective angle. A heavily loaded saddle bag, for example, may shift or cover a rear light that was correctly positioned when the bicycle was unloaded.
The flashing vs solid bike lights question does not need an all-or-nothing answer. Each mode has a different practical role.
Flashing or bicycle blinking lights are commonly used when the main purpose is attracting attention, particularly in daylight or visually busy urban environments. The changing signal can make the light stand out among other background lights.
A steady front beam is more useful when you actually need to see the road at night. It provides continuous illumination of surface changes, turns, debris, and the path ahead. If your front light is your main source of road illumination, a solid mode is the practical choice.
For rear lighting, riders can choose modes according to conditions and the options available on the light. Rather than treating one mode as universally superior, consider whether the light's job at that moment is continuous rear presence, attention attraction, or a combination provided by multiple lights.
Also consider your local rules before selecting a mode for road use. Lighting requirements can differ by location, so a practical convention should not be mistaken for a universal legal standard.
| Riding Style | Suggested Primary Setup | What to Watch |
|---|---|---|
| Urban commute | Handlebar front light plus clear seatpost rear light | Urban glare, bags blocking the rear lamp, crowded handlebars, and frequent charging or removal |
| Road cycling | Stable handlebar front light plus rear light centered and unobstructed | Beam aim, vibration, clothing obstruction, and visibility from behind |
| Gravel or mixed surfaces | Secure primary front and rear lights, with an optional helmet light | Mount stability over rough surfaces, changing beam angle, dust, spray, and equipment movement |
Commuters usually benefit from simplicity because lights may be removed and reattached frequently. Road riders should pay particular attention to stable aiming and whether jerseys, jackets, or saddle bags obscure rear visibility. Gravel riders need mounts that resist repeated vibration and should recheck light position after rough sections.
Aiming the front light too high: More upward light does not necessarily improve your view of the road and can create unnecessary glare.
Letting bags block the taillight: Check the bicycle after packing, not before.
Mounting a rear light at an extreme angle: Make sure the main output faces rearward.
Ignoring vibration: A light that starts correctly aimed can move during the ride if the mount is loose.
Overloading the handlebar: Phone mounts, computers, bags, bells, and lights can compete for space and obstruct one another.
Relying on only one viewing direction: Consider how the bicycle appears from the side as well as from the front and rear.
Using a helmet light as the only rear solution without checking its changing angle: Head movement changes where a helmet-mounted rear light points.
Choosing modes without considering the job of the light: A flashing front light does not provide the same continuous road illumination as a steady beam.
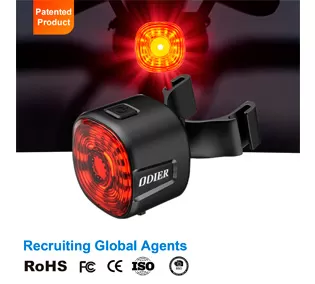
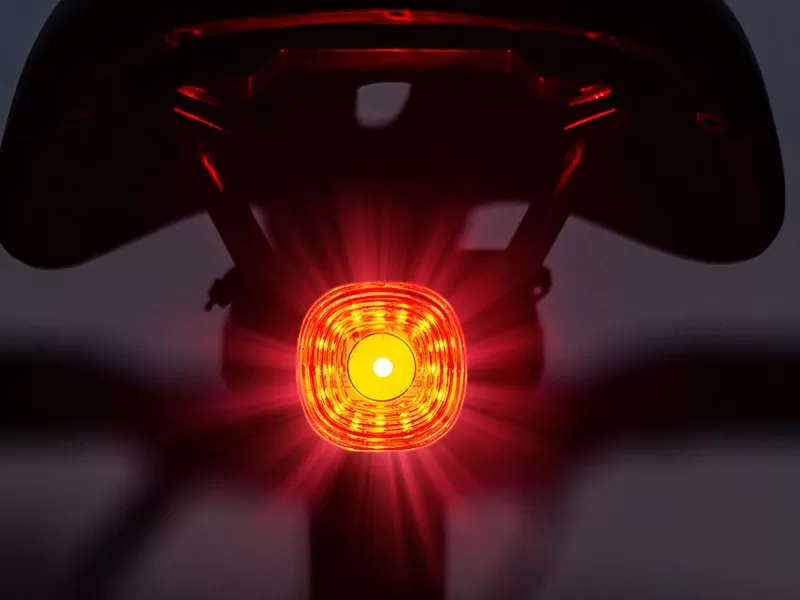
Riders looking for a rear light with additional operating features can consider brake-sensing designs. ODIER's intelligent sensing bike brake taillight is one example within the manufacturer's cycling equipment range.
According to ODIER's listed specifications, the taillight can mount on the seat tube, cushion, or bag. It has a 100-hour battery, IP66 waterproof specification, six light modes, and an auto brake-sensing version with day and night modes.
The multiple mounting options are useful when deciding where a rear light can remain unobstructed on a particular bicycle. A rider using a large saddle bag, for example, may need a different position from someone riding with an uncluttered seatpost. The same principle applies to B2B buyers: mounting flexibility can be an important product-selection factor because bicycles and rider setups vary.
ODIER also offers a broader range of ODIER bike lights, including headlights and taillights described by the manufacturer as high-brightness products with long battery life, waterproof and dustproof construction, made in China, with OEM availability.
When deciding where to mount bike lights, start with function rather than appearance. Put the primary front light where it can produce a stable, useful beam, usually on the handlebar. Position the primary rear light where it stays visible from behind without being blocked by luggage or clothing. Then consider helmet, secondary, reflective, or side-visible elements if they solve a real gap in the setup.
Correct aiming, stable mounts, sensible use of flashing and solid modes, and a quick visibility check can matter as much as adding more brightness. A well-planned arrangement of bicycle front and rear lights is easier to understand, easier to maintain, and better matched to the actual demands of night commuting, road riding, or gravel use.
Riders can explore ODIER's intelligent sensing bike brake taillight and broader bike light range for available front and rear lighting options. Bike shops, distributors, cycling brands, and other business buyers can contact ODIER at carrie@odier.com.cn to discuss wholesale, OEM, or ODM cooperation.